How to Install Metal Deer Fence
Instructions for DIY homeowners and fence contractors on the Benner Deer Fence Co. installation method for installing all metal or bottom metal deer fence.


STEP 1: Attach fence to first post
On the outside of the enclosure, roll out a few feet of the fence. Use a cable tie to attach the fence to the post leaving 3-4 mesh blocks past the fence post. Fasten the top of the fence to the upper cable with a hog ring clip near the first post.
-
If the fence roll is too heavy to manage, measure a section of one to three post spacing. Make sure to cut extra fence to extend beyond the starting and stopping post. A general guideline is 14”, more may be needed for hilly terrain.
-
If fencing is taller than posts, the additional fence can be bent “out” along the ground towards the deer and rodents.
-
Begin and terminate fence at a braced, cemented, or tree post whenever possible.
NOTE: Depending on the post and fence height, the fence will be even with the ground or have 6” or more of fence to bend out along the ground. -
For dog enclosure fencing, the fence should be installed on the inside of the enclosure. Bend fence “in” along the ground towards the dog area.
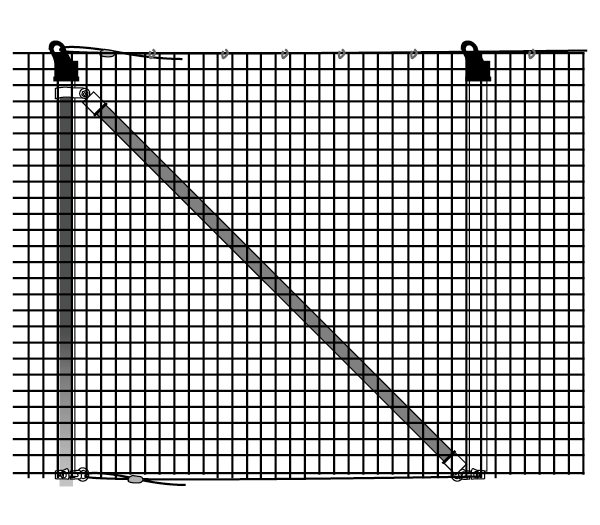
STEP 2: Run Fence
Spin out the fence roll down the fence line. Fasten the top of the fence to the upper cable close to each post with one hog ring clip.
-
There is a turn or corner: Cut fence, leaving at least 3 mesh grids past the post.
Terrain is flat: Fence can be run in stretches up to 100-ft.
Terrain is hilly: The fence will need to be cut in sections to follow the contour of the ground. Always cut the fence at a post, leaving about 3-8 mesh grids of fence past the post. The steeper the hill, the more fence that will be needed for overlap. -
If the fence does not reach a post when the roll runs out, there are two options:
1. Cut the fence off at the previous post and use the scraps for gates and or tightening procedures.
2. Run the fence roll all the way out and fasten it to the top, middle and bottom cables. Start the next roll of fence by overlapping at least 3 mesh sections and connect fences using hog ring clips.
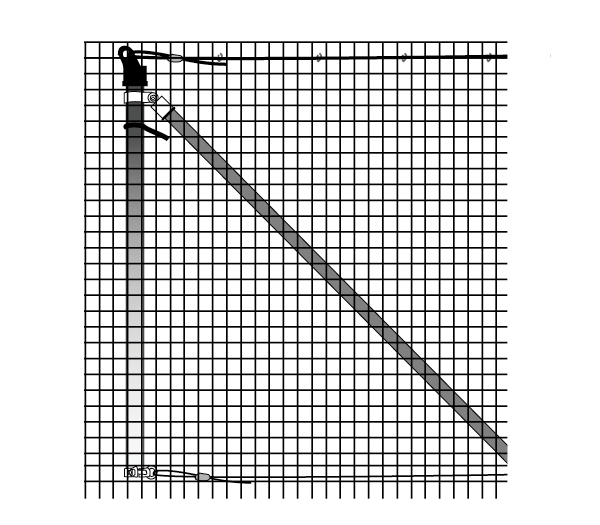
STEP 3: Attach Fence Run to Top Cable
Attach fence to top cable approximately every foot with hog ring clips.
-
For smaller projects, 8-inch zip ties can be used to attach the fence to the cable.

STEP 4: Zip-Tie Fence to Posts
Do the ends first. Zip tie fence to post leaving the extra length of fence past the post. Use 3-4 zip ties per post. Zip tie fence to all posts in fence run.

“Wrap zip ties around post and one full grid of deer fence”

STEP 5: Wrap fence ends around posts
Wrap cut ends of fence around fence post. Connect end of fence into fence using hog ring clips.

STEP 6: Attach fence to middle and bottom horizontal tension cables
Connect fence using hog ring clips to the middle and bottom horizontal tension cables.
-
Pull the bottom metal cable “up” and clip it 2-3 mesh grids up into the fence. This will help to stretch the fence tight and keep the fence tight to the ground.
-
Install ground stakes in between each post spacing and anywhere there is a large divot or uneven ground between posts. Install ground stakes through metal cable and fence, about 3 mesh grids up into the fence .
-
Two to three metal cable ties can be added to each post after fence installation is complete.